


Hey there! It's time once again for the Stylin' Stampin' Squad Blog Hop! The theme this month is America, Canada or Birthday. I hope you enjoy my projects!
In keeping with our themes this month, I made a card that could be used for July 4th or it could be a birthday card or welcome home card for a soldier or veteran.

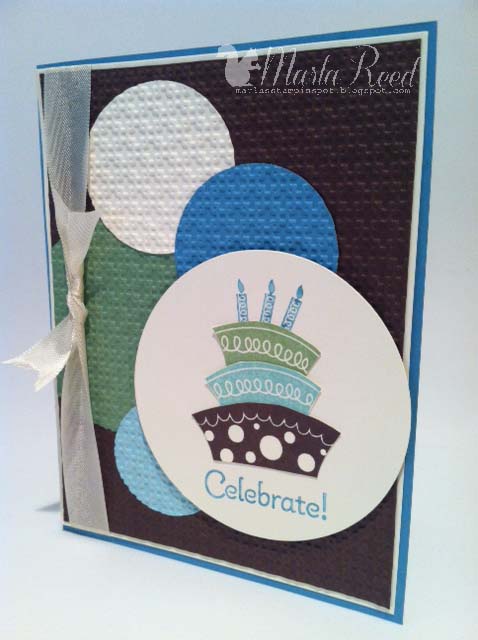
Stamps: Topsy Turvy Celebration, Blast Off
Paper: Night of Navy, Real Red, Whisper White, Brights DSP stack
Ink: Night of Navy, Real Red (pad and marker), Basic Gray marker
Accessories: Big Shot, Stripes EF, white taffeta ribbon, rhinestones, white gel pen, homemade shimmer spray
Patriotic themed cards are a little bit tricky because we don't have a lot of current products that make stars, but we do have a brand new stamp set (Blast Off) that has a little flag. That is what I used to make the topper for my cake. I drew stripes onto the flag stamp using my Real Red marker and then stamped. I cut out a small square of Night of Navy cardstock for the flag's blue panel and made little white dots for the stars using my white gel pen. Here is a closeup of the flag...

My 3D project could have many different uses. They could be hung for decorations at a birthday party or July 4th barbeque. They could be put on a stick and used as a cake topper or party favor. They could also be used as a bow on top of a wrapped present.


Stamps: None
Paper: Summer Smooches DSP
Ink: None
Accessories: Simply Scored, Simply Scored diagonal plate, In Color brads, Brights buttons, white bakers twine, mat pack, paper piercer
These were very quick and simple to make. I started with 5 1/2" x 5 1/2" squares of DSP (but any size square would work). I made a diagonal score line from corner to opposite corner and then turned the paper 90 degrees and repeated. I then cut along the score lines until I was about one inch from the center. I folded the tips into the center and secured them with a brad that I placed using the paper piercer and mat pack. The first pinwheel also has a button attached to the center using glue dots.
That's all I have to share! I kept my post nice and short so that you could quickly move on to the other amazing projects. I hope you enjoy them! Please try to leave some comments along the way. They are very encouraging to all of us! Thanks and happy hopping!
~Marla

Blog Hop Participants:
- Shellie G. of Creative Electica
- Annie L. of Love Me Cards
- Pam S. of Stampin' in the Sun!
- Nancy B. of Lady Stamps a Lot
- Rose C. of Stamp with Rose
- Tonya B. of Stampin' with Tonya
- Dawn S. of Dawn's Creative Chalet
- Patricia T. of Sunnyone Stampin'
- Heather W. of Heather's Stampin' Blog
- Marla R. of Marla's Stampin' Spot
- Darcy J. of DJ's Stampin' Place
- Kim R. of Stamping with Kim

.JPG)


